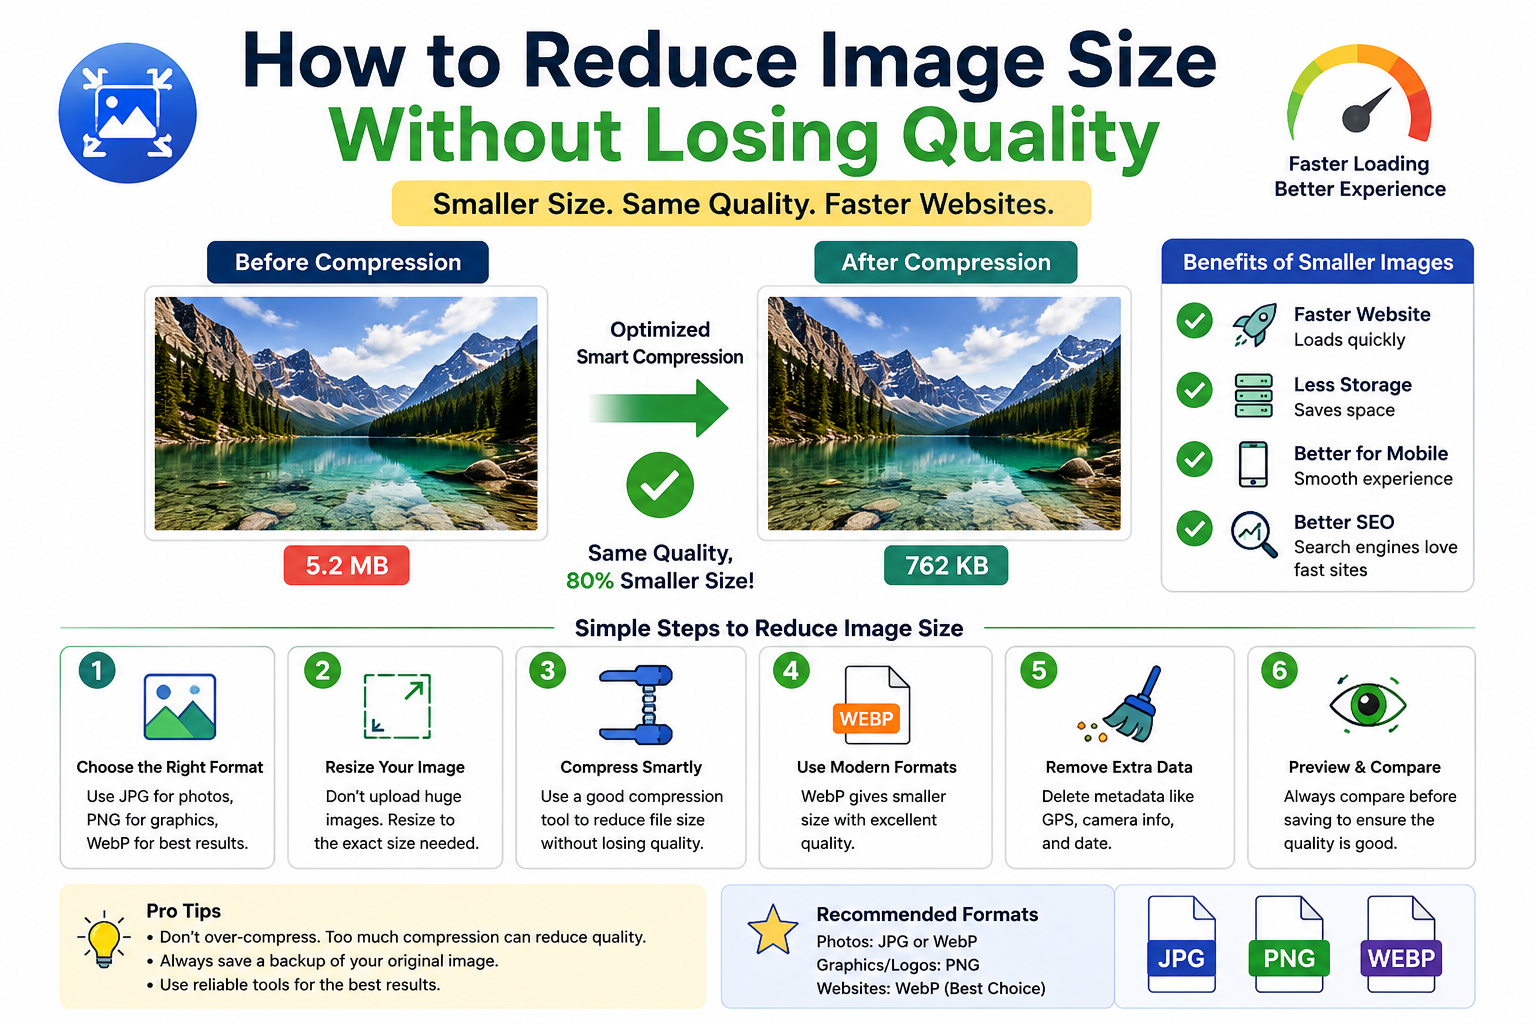
How to Reduce Image Size Without Losing Quality
Large image files can be frustrating. They take longer to upload, consume more storage space, and can make websites load slowly. If you've ever tried to upload a photo only to see a "file size too large" message, you're not alone.
The good news is that you don't have to sacrifice image quality just to make files smaller. With the right techniques, you can reduce image size significantly while keeping your images sharp and clear.
In this guide, you'll learn how image compression works, why large images cause problems, and the best ways to reduce image size without making your pictures look blurry.
Why Large Images Can Be a Problem
Most modern smartphones and cameras capture high-resolution images. While these photos look great, they often come with very large file sizes.
For example:
- A smartphone photo might be 5 MB to 15 MB.
- A DSLR camera image can easily exceed 20 MB.
- PNG graphics sometimes reach several megabytes even for simple designs.
Large files create several problems:
- Slower website loading times
- More storage usage
- Longer upload times
- Higher bandwidth costs
- Poor user experience on mobile devices
Reducing image size helps solve all of these issues.
What Does Image Compression Mean?
Image compression is the process of making an image file smaller without noticeably affecting how it looks.
Think of it like packing a suitcase.
Instead of throwing everything in randomly, you organize items more efficiently so everything fits into less space.
Image compression works in a similar way by storing image data more efficiently.
The goal is simple:
Keep the image looking good while reducing the amount of storage it needs.
Lossy vs Lossless Compression
When compressing images, you'll often hear two terms:
Lossy Compression
Lossy compression removes some image data to create a smaller file.
The removed information is usually difficult for the human eye to notice.
Advantages:
- Much smaller file sizes
- Faster website loading
- Better for photographs
Disadvantages:
- Some image information is permanently removed
JPG and WebP commonly use lossy compression.
Lossless Compression
Lossless compression reduces file size without removing image information.
Advantages:
- Original quality remains intact
- Ideal for logos and graphics
Disadvantages:
- File sizes are usually larger
PNG is a common example of lossless compression.
Choose the Right Image Format
One of the easiest ways to reduce image size is by selecting the correct format.
JPG
JPG is ideal for:
- Photographs
- Travel pictures
- Product images
- Social media photos
It offers good quality with relatively small file sizes.
PNG
PNG works best for:
- Logos
- Icons
- Screenshots
- Transparent backgrounds
PNG usually produces larger files than JPG.
WebP
WebP is a modern format designed for smaller file sizes and high quality.
Benefits include:
- Smaller files than JPG
- Transparency support
- Faster website performance
For most websites, WebP is often the best choice.
Resize Images Before Uploading
One of the biggest mistakes people make is uploading images that are much larger than necessary.
For example:
A photo might be:
- 4000 × 3000 pixels
But your website only displays it at:
- 1200 × 900 pixels
In this case, you're uploading far more data than needed.
Before uploading an image:
- Check the display size
- Resize the image accordingly
- Save storage space
This simple step can dramatically reduce file size.
Use Image Compression Tools
Image compression tools automatically reduce image size while preserving quality.
These tools analyze the image and remove unnecessary data.
Good image optimization tools can often reduce file sizes by:
- 30%
- 50%
- Sometimes even 80%
without obvious quality loss.
For website owners, bloggers, and students, this is one of the easiest ways to optimize images.
Remove Unnecessary Metadata
Many photos contain hidden information called metadata.
Metadata may include:
- Camera model
- GPS location
- Date and time
- Device settings
While useful in some situations, this information often increases file size.
Removing unnecessary metadata can make images smaller without affecting visual quality.
Optimize Images for Websites
Website performance depends heavily on image optimization.
Large images can slow pages down and frustrate visitors.
To optimize website images:
Use WebP When Possible
WebP often provides excellent quality with smaller file sizes.
Compress Before Uploading
Never upload huge original files directly from your camera.
Use Proper Dimensions
Only upload images as large as they need to be.
Test Page Speed
Regularly check website performance to identify oversized images.
These practices improve both user experience and website speed.
Common Mistakes to Avoid
Compressing Too Aggressively
Over-compression can make images look blurry and pixelated.
Always preview results before saving.
Using PNG for Every Image
PNG is useful but often creates larger files than necessary.
Photos usually perform better as JPG or WebP.
Uploading Original Camera Files
Camera images are often much larger than required for websites.
Resize and optimize them first.
Ignoring Mobile Users
Many visitors browse on smartphones.
Smaller images help pages load faster on mobile connections.
How Much Can You Reduce Image Size?
The answer depends on the image and format.
Typical reductions include:
- JPG: 30%–70%
- PNG: 10%–50%
- WebP: 25%–80%
A 5 MB image can often become:
- 2 MB
- 1 MB
- Sometimes even under 500 KB
while still looking almost identical.
Benefits of Smaller Images
Reducing image size offers several advantages:
Faster Websites
Pages load more quickly.
Better User Experience
Visitors spend less time waiting.
Improved SEO
Search engines prefer faster websites.
Lower Storage Usage
Smaller files save disk space.
Faster Uploads
Images upload much more quickly.
These benefits make image optimization worthwhile for almost everyone.
Frequently Asked Questions
Will compression ruin my images?
Not necessarily.
Good compression tools reduce file size while maintaining excellent visual quality.
Which format gives the smallest file size?
In most cases, WebP provides the best balance between size and quality.
Is JPG better than PNG?
For photographs, JPG is usually better because it produces smaller files.
For graphics and transparent images, PNG often works better.
Should I compress images before uploading to my website?
Yes.
Compressing images before uploading improves speed and reduces storage usage.
Final Thoughts
Reducing image size without losing quality is easier than many people think. By choosing the right image format, resizing images properly, removing unnecessary data, and using compression tools, you can significantly reduce file sizes while keeping images clear and professional.
Whether you're a student uploading assignments, a blogger managing a website, or a business owner trying to improve website speed, image optimization is a simple skill that delivers big benefits.
Start optimizing your images today, and you'll enjoy faster uploads, faster websites, and a much better experience for everyone who views your content.